Introduction
In this tutorial, you will learn how to create a Dirty Watts Micro-Indicator light. This light shows at a glance when we are burning coal and gas to make our electricity. If the light is red, that means we're burning coal and gas, which is not so great for the environment. But when it's green, that means we're using sustainable, eco-friendly power! So, when you see red, you know that any power you save is helping to reduce CO2 emissions and prevent more pollution. Plus, coal and gas are only used as a backup during peak times, so your efforts to save power when the light is red are directly stopping you from adding to the pollution problem. It's as easy as that! You can be a superhero in the fight against global warming and show those fossil fuel addicts who's boss!
In this tutorial, you will learn how to create a project with a NodeMCU ESP8266 board and some NeoPixel lights. You will use these devices to display the carbon intensity of electricity generation in New Zealand. Carbon intensity is a metric that shows how much carbon dioxide is emitted per unit of electricity produced. Carbon dioxide is a greenhouse gas that contributes to global warming and climate change.
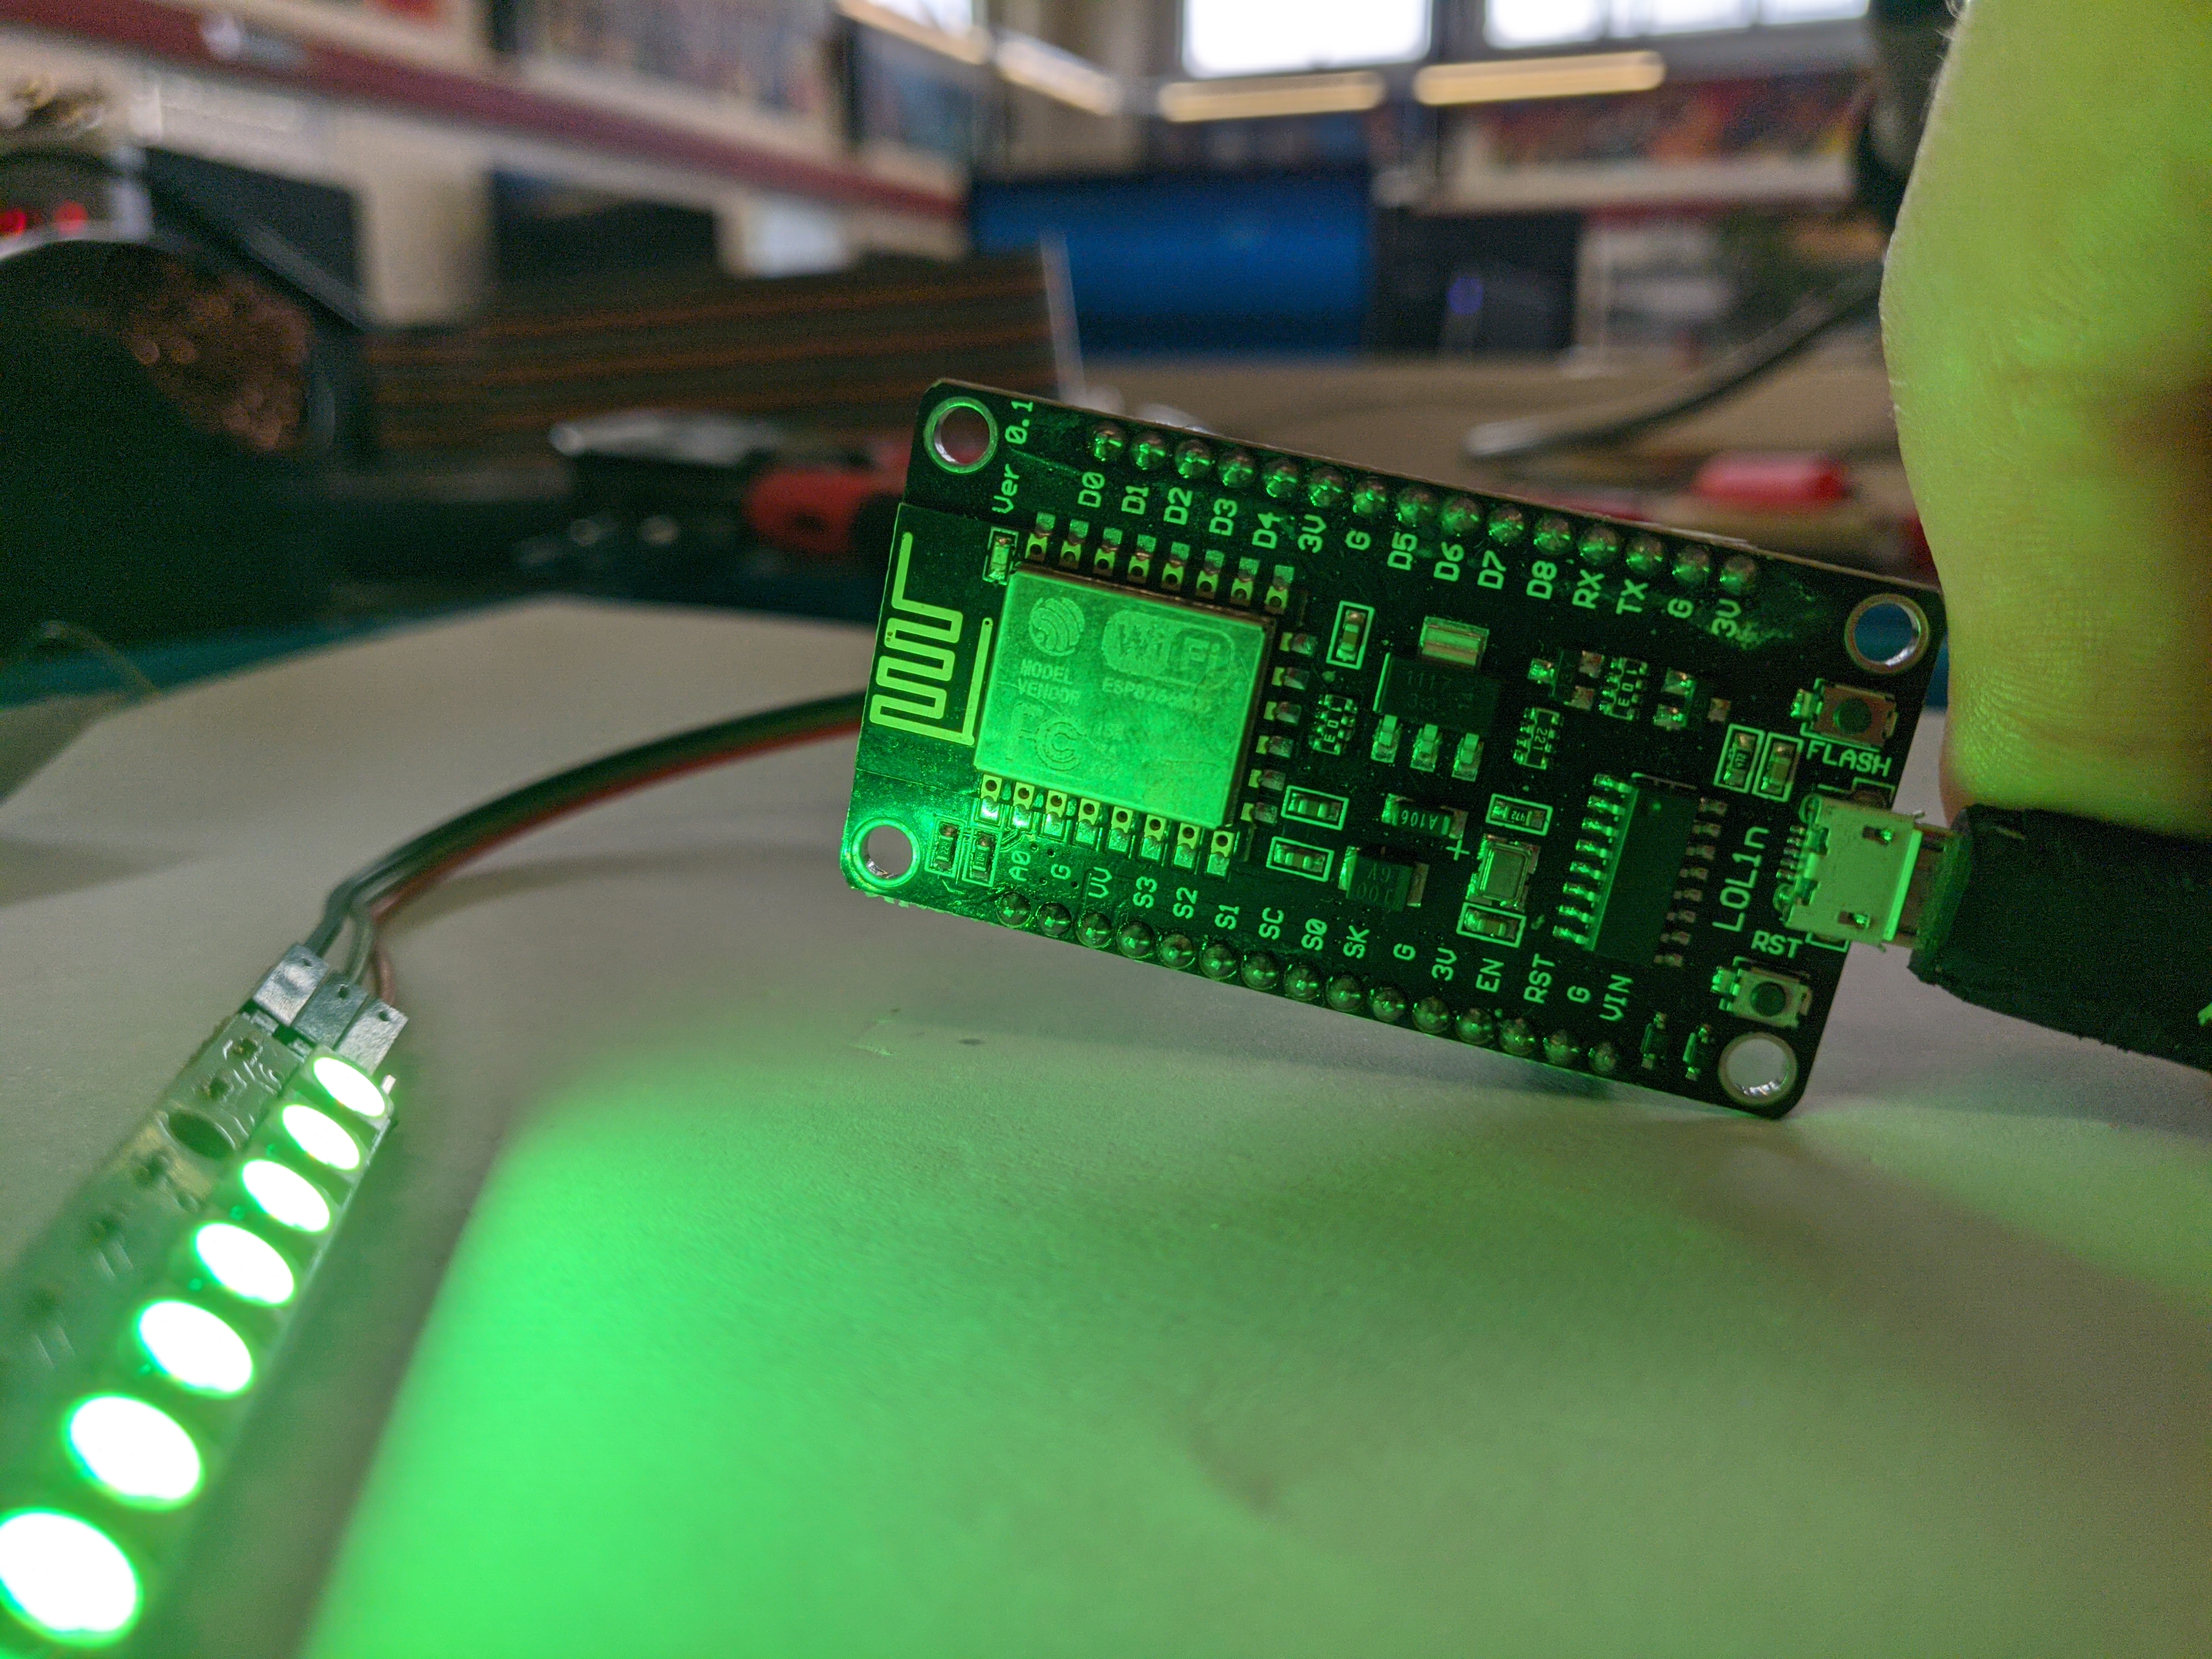
This project uses a NodeMCU ESP8266 Micro-controller, which is a terrible name for something so neat. The NodeMCU board is a microcontroller that can connect to the internet via Wi-Fi. You can program it with PlatformIO and C++, which are software tools that help you write and upload code to your board. The NeoPixel lights are RGB LEDs that can be individually controlled with a single wire.
A microcontroller is a small computer on a single chip that can perform specific tasks. It has a processor, memory, and input/output ports. A NodeMCU's single-core performance is roughly the same as the first Intel Pentium CPU from 1993, but five times faster than a standard Arduino Uno.
The dirtywatts.nz website provides real-time data on the carbon intensity and demand level of electricity in New Zealand through the dashboard, but it's designed for humans and is effectively gobbledygook to our poor microcontroller. Instead, Dirtywatts also provides an API (what's an API?) that's enables computers to get that data, read it and understand. The job of the microcontroller is to connect to wifi, download the latest data using the API, calculate a colour, and then output the colour for the LEDs.
To complete this project, you need to connect up the electronics and upload your code to the microcontroller. In that code you can change the colours and brightness as well as a bunch of other settings. Once done, you'll be able to enjoy your new desk gadget and help us stop burning carbon!
You will need the following components for this project:
There are many fakes "variations" of the official NodeMCU development boards, they will work but they might be less reliable or more finicky to get working. You can see some of them here.
Look for one with a CP2102 chip - this is the part that connects to your USB. Also an ESP32 is a bit better than a ESP8266 but for this project it will not make much difference.