Software
Now you have your NodeMCU connected to your lights, you need to setup a development enviroment. DirtyWatts MicroIndicator uses a tool called PlatformIO to handle uploading the C++ code to the NodeMCU.
To setup your windows/macos/linux device for development:
- Download and install Visual Studio Code (VS Code) if you don't have it already.
- Open VS Code and install the PlatformIO extension.
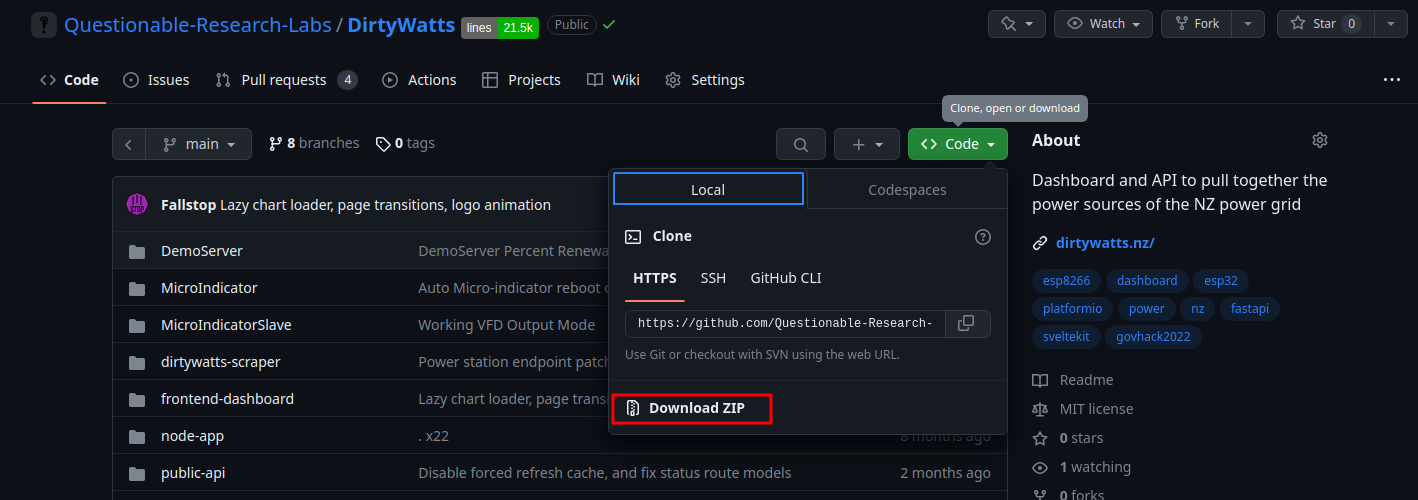
- Download and extract the DirtyWatts codebase from Questionable-Research-Labs/DirtyWatts.
- Open the DirtyWatts/MicroIndicator folder:
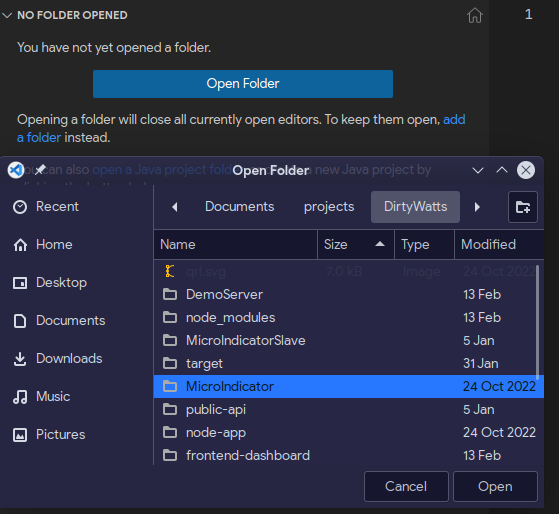


You are now ready to start making changes!
Make changes to fit your device
In src/config.h file, there is some configuration options you might need to change:
#pragma once


#ifdef OUTPUT_NEOPIXEL
    #define NeoPixelPin D1 // D1 on esp8266
    #define NeoPixelCount 30
#endif

#define APIRequestInterval 2000	 // 20 seconds

#define ApiErrorColour 150, 150, 255  // Light Blue
In particular, if you plugged your lights into a diffrent pin than D1, then you need to change it here. You also need to set the number of LED's you have connected. To set this, count every single one, and change the #define NeoPixelCount 30 to #define NeoPixelCount <numberOfLEDs>.
Here, you can also change the color shown when it can't connect to the Dirtywatts Servers and change how often it polls new data.
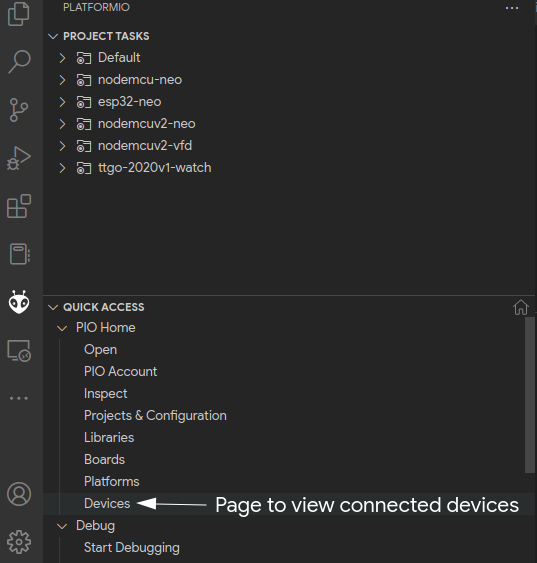
Upload the code
First, you want to check that PlatformIO can see the device